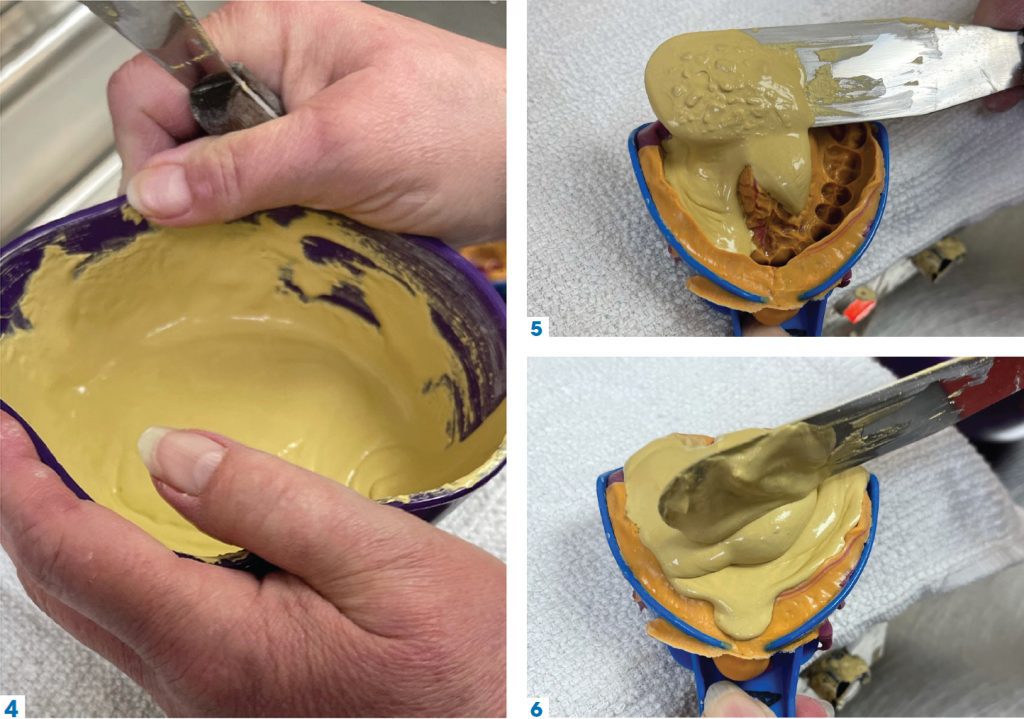
How can we make the workplace more efficient, maneuver as quickly as possible without compromising quality, have successful outcomes, and reduce stress and all at the same time? Impossible? … Wrong.
To achieve positive outcomes, you must be organized. Planning and using the right products to accomplish your goals is essential.
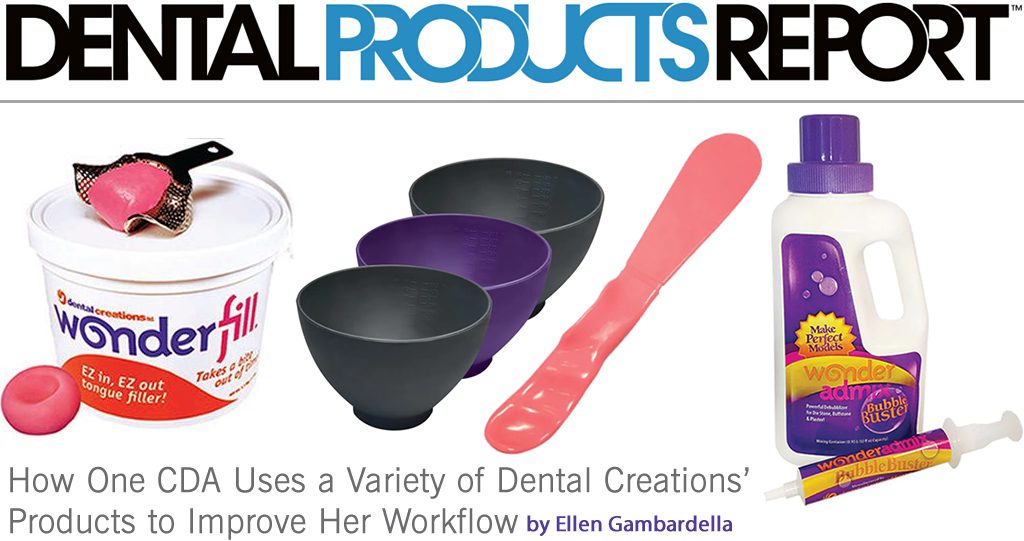
I have found that using Sassy Flexible Mixing Bowls, Sassy Spatulas, Wonderfill and Wonderadmix products from Dental Creations can significantly impact your workplace in a positive way. Here is why …
SASSY Flexible Mixing Bowls
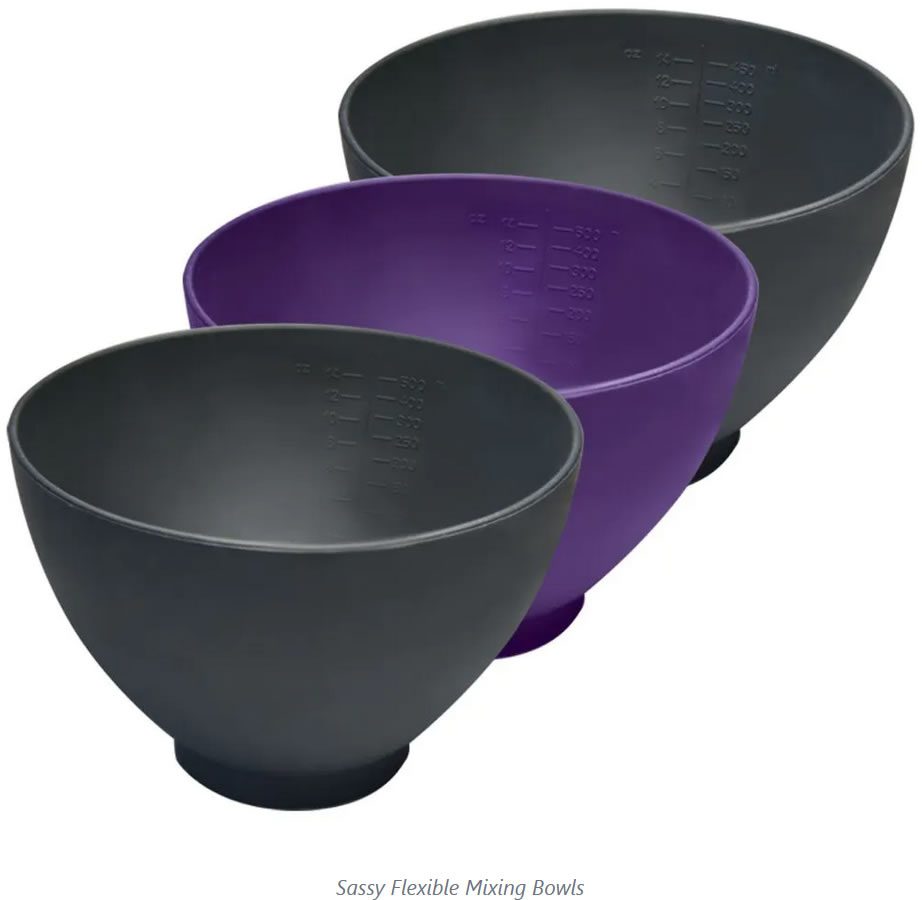
We are seeing more individuals presenting with mild, moderate, or severe latex sensitivities. This should be an area of concern for clinicians. After reviewing the health history, health care providers cannot be 100% certain that the patient will not have an adverse reaction if exposed to latex. To address this issue, some practitioners have advertised their offices as “Latex Free”, thus eliminating all products with latex to create a safer dental environment for everyone.
Taking alginate impressions and pouring up models are skills that require the use of bowls, and all mixing bowls are not created equal.
Most practices use rubber bowls to mix alginate impression materials. Here’s why I suggest you choose a non-latex bowl. Why? The alginate technique requires mixing the impression material in a bowl while forcefully smearing it along the sides of the bowl to ensure a homogeneous mix without air bubbles. If a latex bowl is used, the alginate has come in direct contact with latex. It is then placed in a tray and transported to the oral cavity. I would rather remove any concerns by selecting the Sassy Latex Free Flexible Mixing bowls. By eliminating the latex, you have eliminated a potential risk factor and can proceed with confidence. A real plus for the office and the patient. Remember, safety first – don’t take chances.
The flexible design allows the bowl to fit comfortably in your hand without the need to forcefully press on the bowl to have it conform to your hand. The flexibility of the Sassy Bowl diminishes strain on wrists, thumbs and fingers thus reducing inflammation to those already overused hands.
Cleaning the Sassy Mixing Bowls via the flex, wipe, and disinfect method is easy. An autoclavable option is available for those offices wanting to elevate their infection control protocols. Moreover, these bowls are compatible with most automatic alginate mixers.
Bowls are also required when mixing plaster, stone, and investment materials. I would recommend you use 1 set of bowls for mixing gypsum and a separate set used exclusively for alginate impressions.
SASSY Spatulas – For A Better Mix
Are you using a mixing spatula designed with a stainless-steel blade and a wooden handle? These may not be autoclaved without compromising the wood. In fact, I had a steak knife run through the dishwasher once too many times. The wooden handle broke away from the blade and I was appalled at what I saw under the wood.
I equated this to the spatulas we use in dentistry and immediately transitioned from the stainless-steel wooden handle spatula to the Sassy Spatulas.
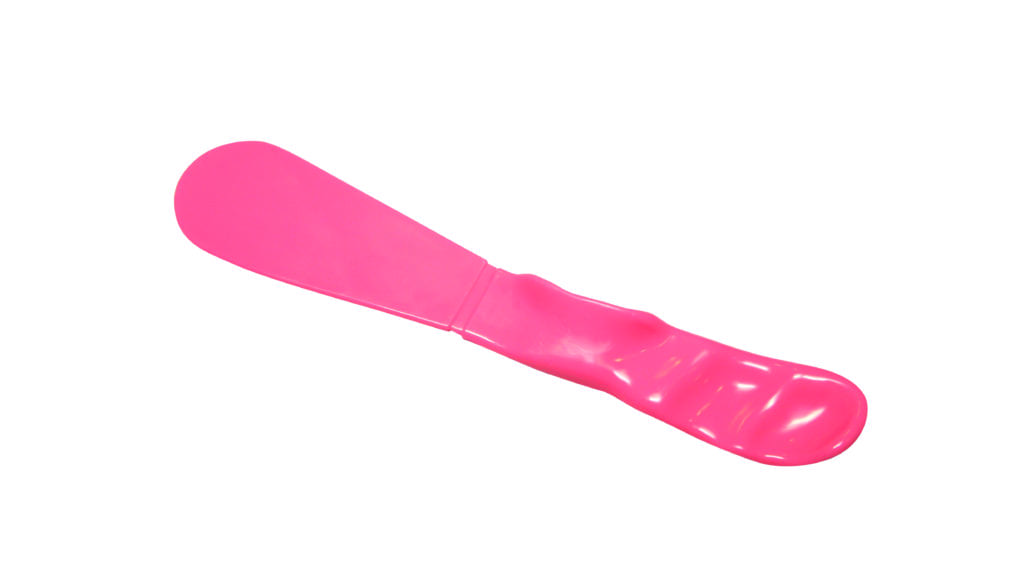
These are designed as 1 piece (no rivets or crevices for germs to collect), are made of high-grade polypropylene and are autoclavable to 270° F which eliminates cross contamination of pathogens.
When choosing a spatula, take the color into consideration. White spatulas discolor when autoclaved, look dirty, and do not present well to patients. The Sassy Spatulas are manufactured in a deep pink or blue color, resist stain, and always look clean to patients … perception is everything!
Many dental professionals experience hand and wrist pain and will try different treatments to alleviate the discomfort. One approach to relieving aching hands is to select the correct type of mixing spatula. Sassy Spatulas are lightweight and ergonomically designed with thumb and finger rests that reduce strain to your hands and wrists. This Sassy product is great for helping achieve happy hands.
Pouring Dental Models Just Got A Whole Lot Easier
Effective planning is essential to the pouring process. Don the appropriate personal protective equipment. Inspect the impression for accuracy and verify that it has been properly disinfected. Once this has been accomplished, proceed to mix the stone or plaster.
Taking ideal impressions and pouring perfect models are important skills that relate to the accuracy of the finished case. Creating a detailed reproduction that captures an exact replica of a patient’s teeth and adjacent tissues is essential for well-fitting prosthesis. The poured dental model acts as the foundation to the case. Like any structure (house or commercial building), if the foundation is defective the structure will have problems. This is also true for dental models. If the model [foundation] is flawed the end-product will be substandard. We must pour accurate models to avoid potential problems.
Related reading: New Spatulas from Dental Creations Designed for Easy Mixing of Dental Materials
So, what contributes to pouring predictable and accurate dental models? What is the most efficient way to fill the tongue area and voids? How is model trimming time reduced? By what method is a surfactant applied to the impression to ensure the most critical areas are reached?
Wonderfill … Fulfilling All Your Expectations
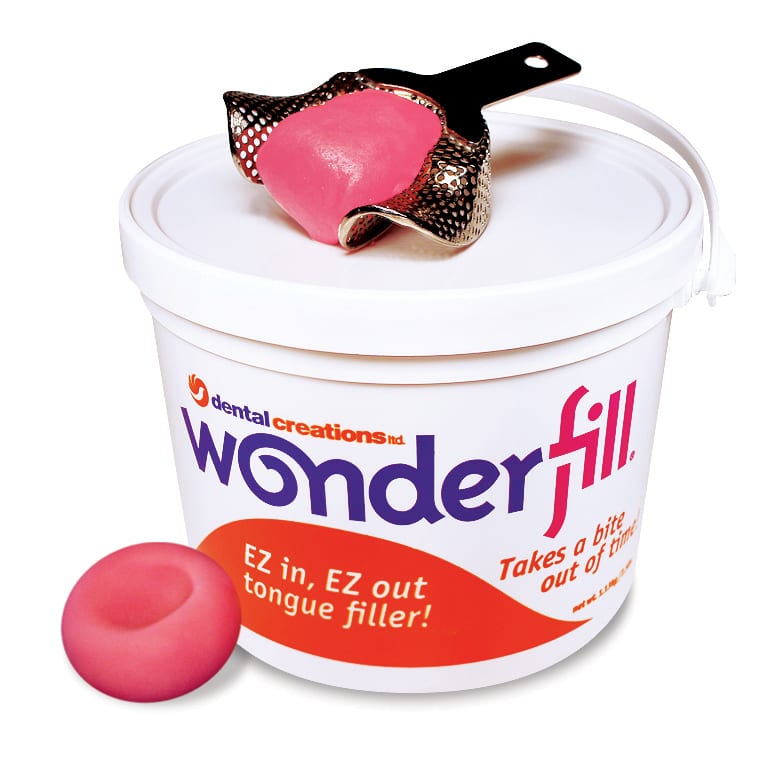
In preparation to pouring models, attention must be given to the tongue area, voids, and undercuts. If the tongue area is not filled, stone will flow into the space, set up and lock the impression to the model. Separation of the impression from the model becomes challenging and oftentimes results in fracture. There are various methods for filling the tongue area. Wet paper towels may be used however, this approach creates an irregular stone surface which requires additional time at the model trimmer to smoothen the uneven area. Another time-consuming technique includes using alginate to fill the tongue area. This requires mixing more alginate, placing it in the tongue area, and waiting for it to set. Some clinicians use heated wax. This procedure may not make a complete seal with the tray causing gypsum to penetrate those unsealed areas resulting in irregular surfaces. Others use Play Doh as a filler. This technique may stain the model, is difficult to clean off the model’s surface and becomes unusable as it turns dry and hard.
All these methods require additional time. Remember “Time is Money.”
After evaluating these methods and experiencing disappointing results, I asked myself: How can I save time and money without compromising the accuracy and professional appearance of my models? There is an answer… use Wonderfill.
The simplicity of Wonderfill makes it an excellent choice of product. In just 1 quick step you can fill the tongue area, voids, and undercuts. This water-soluble material requires no mixing or preparation. Its perfect consistency allows for easy manipulation that conforms to any area or shape. Wonderfill is reusable – easily remove any residual stone, return it to the container and cover. It eliminates the need to mix alginate filler or use wax and saves precious time at the model trimmer.
Wonderfill’s time saving results and ease of use make it a winner. I refer to this product as Wonderful Wonderfill. Try it, and I believe you will too.
Say Goodbye To Bubbles
We want our patients to walk out of the office feeling like you exceeded their expectations. Choosing the right products to make the treatment run seamlessly will accomplish that goal. The use of Wonderadmix will also help to achieve satisfied and happy patients. No more delays, repours, or starting over. Pouring meticulous dental models is your insurance policy to achieving well-fitting dental appliances.
What else can be done to perfect model pouring? Use surfactants. Surfactants, also called surface-active agents, reduce surface tension thus increasing spreading and wetting properties.
Surfactants are routinely used to spray impressions before pouring models. This spray technique may produce a haphazard, uneven application which contributes to unwanted voids/bubbles. Moreover, a pooling of excess fluid on the surface of the impression may lead to chalky spots on the model. Most importantly, this method oftentimes misses the most critical areas of the impression such as the detail on and around the prepared teeth. Say goodbye to spray surfactants, hit or miss applications, and unpredictable outcomes.
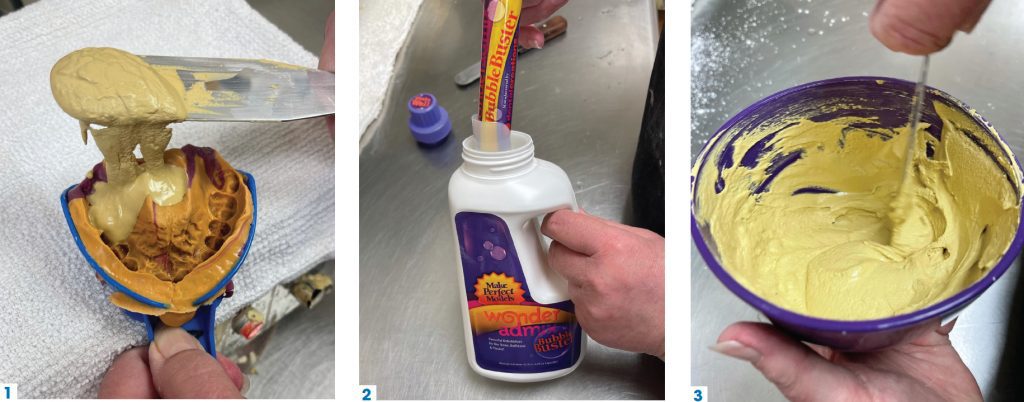
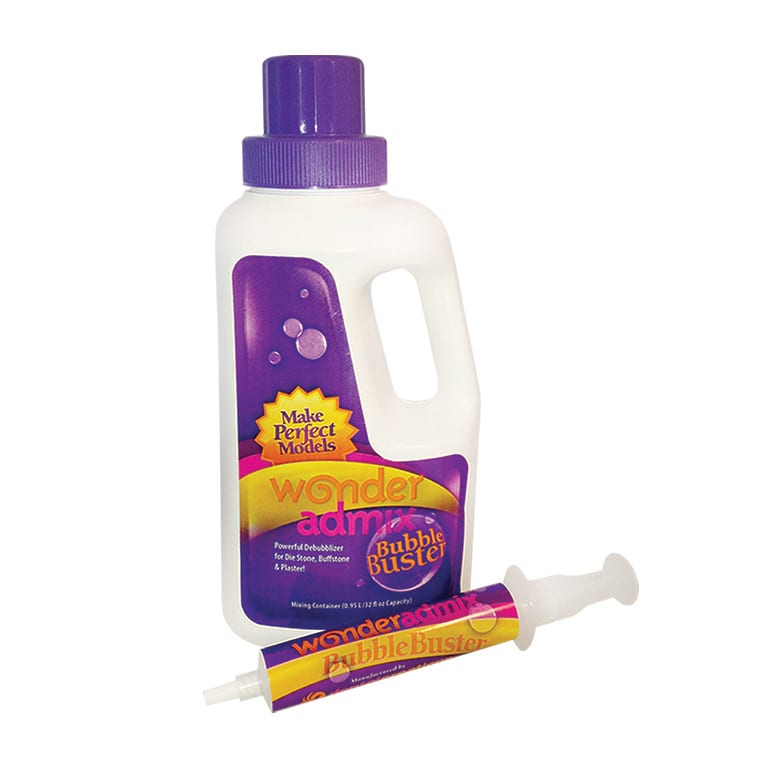
An innovative approach to correcting these problems is to use Wonderadmix from Dental Creations. It is an effective bubble buster. When pouring models, it replaces the manufacturer’s recommended amount of water with a powerful and concentrated surfactant solution. This product distributes the surfactant via the stone mix, thereby ensuring an equal distribution of surfactant to the entire impression including, the most critical and detailed areas on and around the prepared teeth. Wonderadmix breaks the surface tension and allows plaster or stone to glide effortlessly over the surface of the impression. In addition, models will exhibit a smooth, strong surface thus resistant to chipping and fracturing.
The Wonderadmix system comes with syringes containing a concentrated solution and an empty bottle. Simply dispense the Wonderadmix syringe liquid into the provided bottle, fill the bottle with water and shake before each use. Use this powerful mixture instead of plain water and experience the pristine results. It is that easy.
Do it right the first time rather than doing it over. Choose Sassy Flexible Mixing Bowls, Sassy Spatulas, Wonderfill, and Wonderadmix.
By: Ellen Gambardella